Frontend
Model of page of the E-commerce Site
For user interaction model we have selected a model of five steps to guide the final customer is guided into adjusting the initial parameters of the project. The example is taken from Personaliza tu pared. This is explained here:
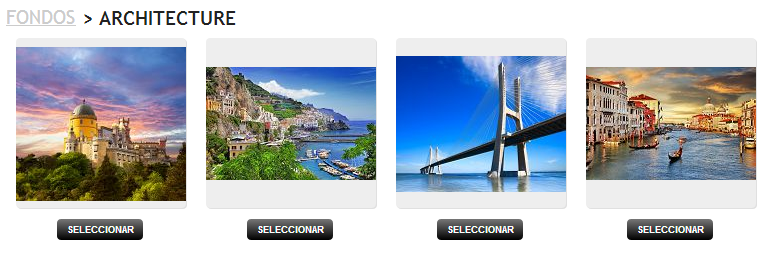
- Background image selection
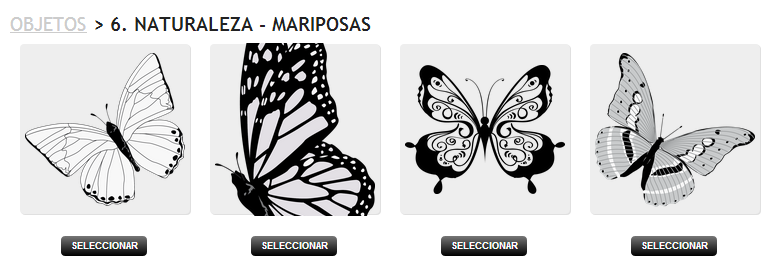
- Object image selection
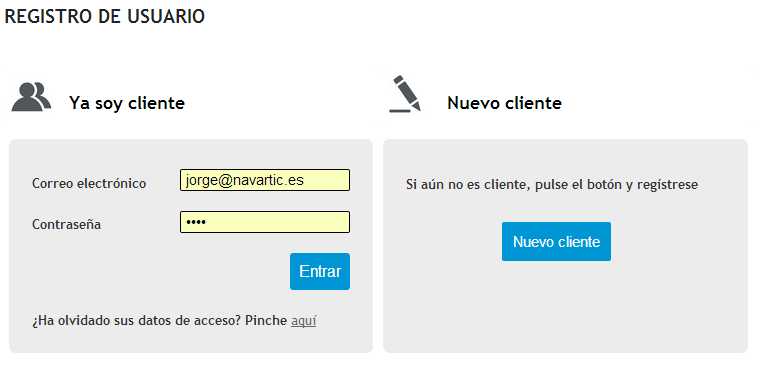
- Sign In or Sign Up of final users
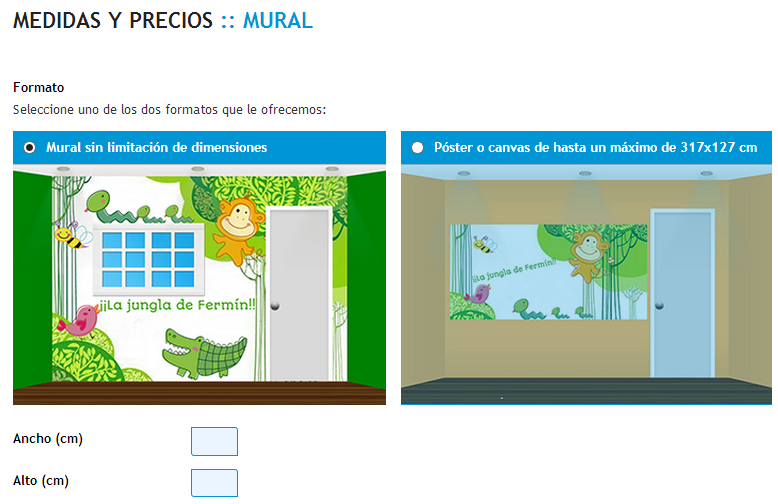
- Selection of format and wall sizes
- Entering the designer simulator
- e-commerce_site: is the name that HP assigns to our web site when you create an account in HP WallArt. You can find it from your settings page after logging in HP WallArt
- web_link: has value of true to indicate that you can access externally the designer module
- sku: indicates the kidn of project that we want to build:
- WA_WC is a wallcovering project
- WA_WP is a poster
- WA_CA is a canvas with extensions to wrap a frame, like for paintings.
- content_context_token: is a random hash key that must be unique for project and that we have to generate.
We can generate it in PHP with the following instruction:$content_context_token = md5(uniqid($id_proyecto, true));
A set of images is offered (scenes) that can be stored in the E-Commerce Site, or be reachable in a third party provider, for example an image data bank like Fotolia, or Big Stock Photo.
A set of images and vector objects are presented for the foreground. Most preferably in PNG interlaced format. They can also be stored in the own E-Commerce Site, or come from a third party provider like before.
In this step we ask the login of existing users or allow registration of new ones. All the data are kept in the database and also through this process they stay within the session variables.
Next we select some of the formats available for the final product (wallcovering or canvas poster). This value is also passed to the designer component by a GET call. Likewise we introduce the sizes of the wall, so that we pass them through a GET call as well for designer to create the custom project with these values.
In this moment we have all the values needed to call the simulator. Let’s prepare a button with the following URL:
https://designer.hpwallart.com/e-commerce-site?web_link=true&sku=WA_WC&size=400x300&content_context_token=c61d62c1f3acb10e076df16b30a7658e
Siendo: